This is it folks.
The big one.
The reason I wanted to learn to sew in the first place.
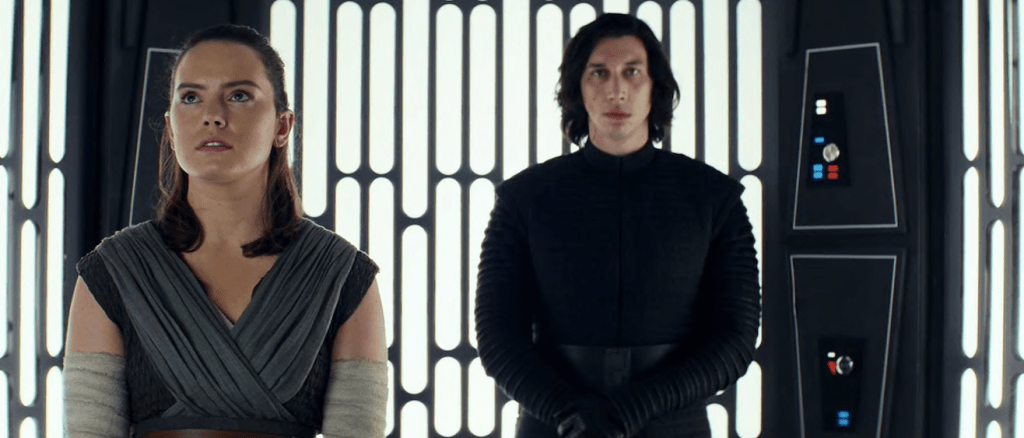
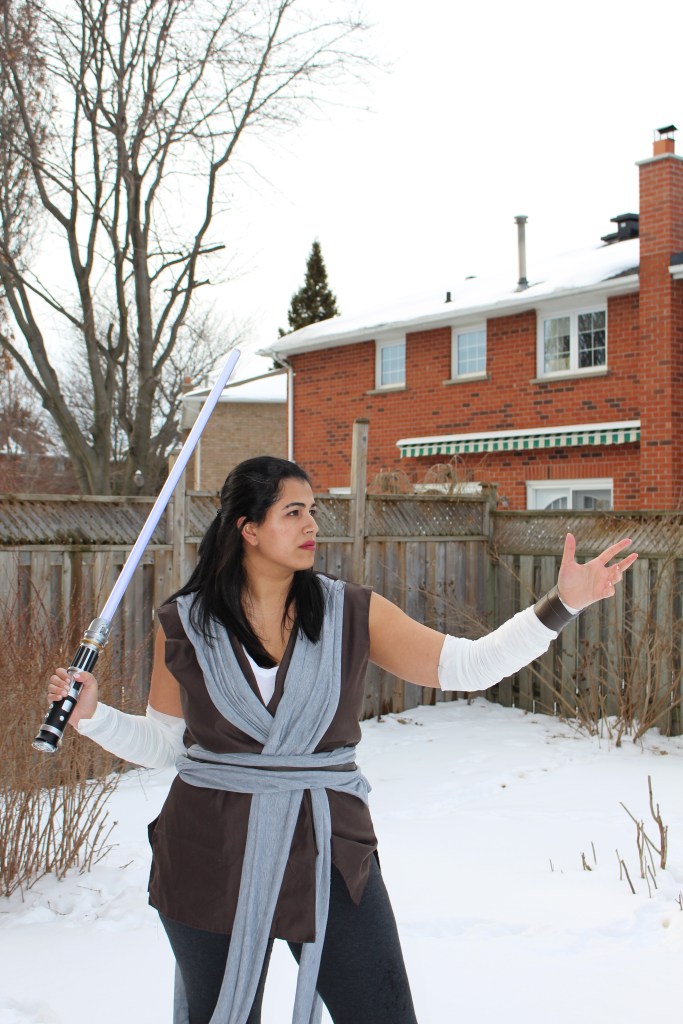
Ok no, seriously. As the title of this post suggests, this is about my attempts at building Rey’s Battle Outfit:
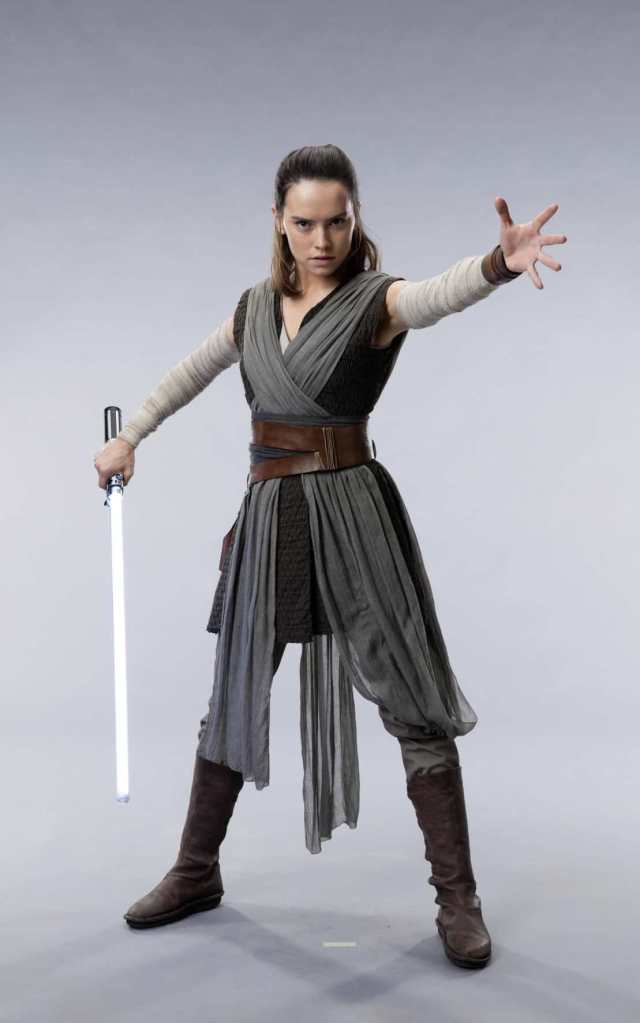
My original intention was to have this done in time for Halloween 2019 (!), but I wasn’t confident enough in my sewing skills to pull it off. I didn’t have a pattern for the tunic, and I couldn’t find any shirts that could be modified to look like it either.
I ultimately made two whole other costumes before I felt ready to tackle this one. Because it was assembled in pieces, it’ll probably make the most sense to tackle this breakdown costume piece by costume piece. My effort is, admittedly, not the most screen-accurate. But I just love it so so much. And the great part about it being in so many pieces is that they’re fairly simple to swap out as my skills improve.
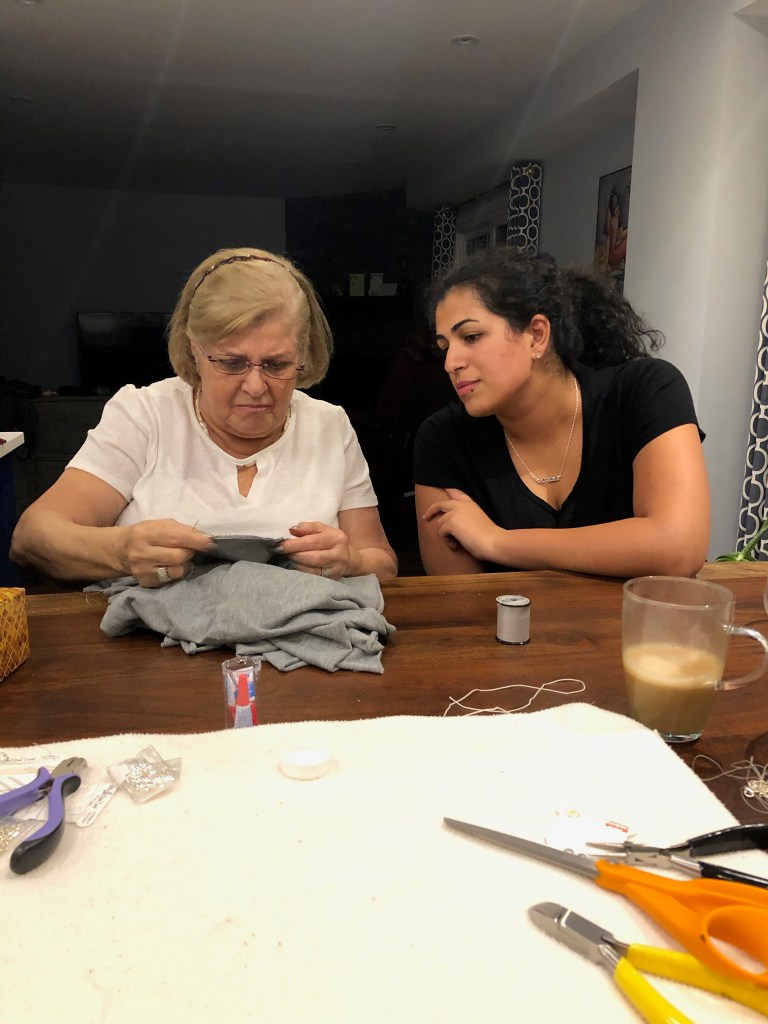
Looped Sash and Obi
This was the first part of the costume that I (with my grandmothers help) put together.
Rather than buying lengths of fabric, I bought two infinity scarves from a fast-fashion store, cut them in half so that they were each one long rectangle, then cut those two rectangles in half length-wise, so that I was left with 4 long grey rectangles.
My grandmother then worked some sewing wizardry and joined 3 of the pieces together so the seams are barely visible.
The scarves are made of a stretchy jersey-type fabric, which means they have a tendency to curl at the edges, making the looped sash look thinner than it actually is.
The obi was the really easy part, since I decided to just use the 4th rectangle of fabric, which I wrap around myself and just tuck into place.
The Undershirt
For the white undershirt, I just used the same white shirt I use for Ach-To Rey, which is to say a t-shirt with the sleeves cut off. This will probably be the part I replace first since the shirt is starting to get old. But I just love the neckline so much!
The Tunic
When I first wanted to make this last October, I found a lot of blogs online with instructions on how to measure out your own pattern. But at this point my sewing skills were nowhere near the confidence required to do that.
Then a couple of months ago, I found a free pattern on Mood Fabrics website, for an outfit called “The Andromeda“. Despite the name, they’re pretty upfront that this is a Rey costume pattern.
I didn’t really need anything from this pattern except the tunic, and the leather pieces (which I’ll come to in a minute).
The fabric I used isn’t really screen accurate except for the colour. It doesn’t have that quilting texture, which is something I would probably like to change down the line. One thing I do like about this fabric, a cotton blend, is how light it is.
It was definitely a struggle to break away from my tendency to gravitate towards wool. I actually considered making this out of wool. The only thing that stopped me was that I felt it wouldn’t swish right.

The one struggle I had with this one was entirely of my own making. I decided I needed to lengthen the pattern by about 4 inches on the hem, to account for my height.
This was totally unnecessary, and left me having to try and evenly cut 4 inches off the bottom of the long back piece and the two front pieces.
I also decided to hand-stitch the finishing details, but this was a much more pleasant experience than my other attempts at hand-finishing. Why? Because I am now the proud owner of not one but three thimbles! Yay, no more microscopic holes in my fingers that burn when I handle citrus fruit!
The Cuff and Belt
I used the Andromeda pattern for these too. The pattern instructions call for faux leather on one side, and vinyl on the other to give it some stiffness.
I wound up only using the faux leather, because I’ve commissioned the real thing from a friend who does leather work. As a result I wasn’t willing to put in more work (and frankly, money) when I knew a better version would be coming soon anyway.
She’s fine with it, really.
I actually really like the faux leather I picked though. And I had enough extra material to make a fanny pack (don’t look at me like that).
The Pants
Leggings from Old Navy. Didn’t modify them, didn’t dye them. Just unpacked them from the cardboard wrap thing and boom. Pants.
Boots
For now I’m using the same boots I wear for my Jedi outfit. I have my eye on the brown Po-Zu boots, but unfortunately I also have my eye on the shipping costs and the exchange rate and I just have myself a little cry.
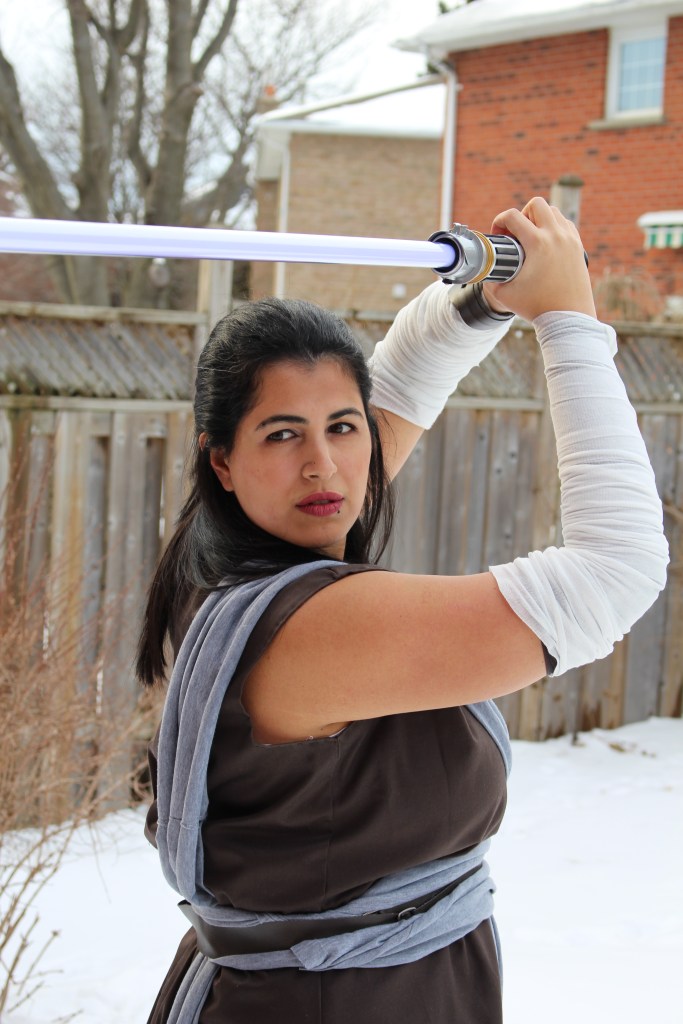
The Arm Wraps
You’re probably thinking that this part is also pretty straightforward. Those are pretty clearly gauze bandages on Daisy Ridley’s arms, how could I mess this up.
Well.
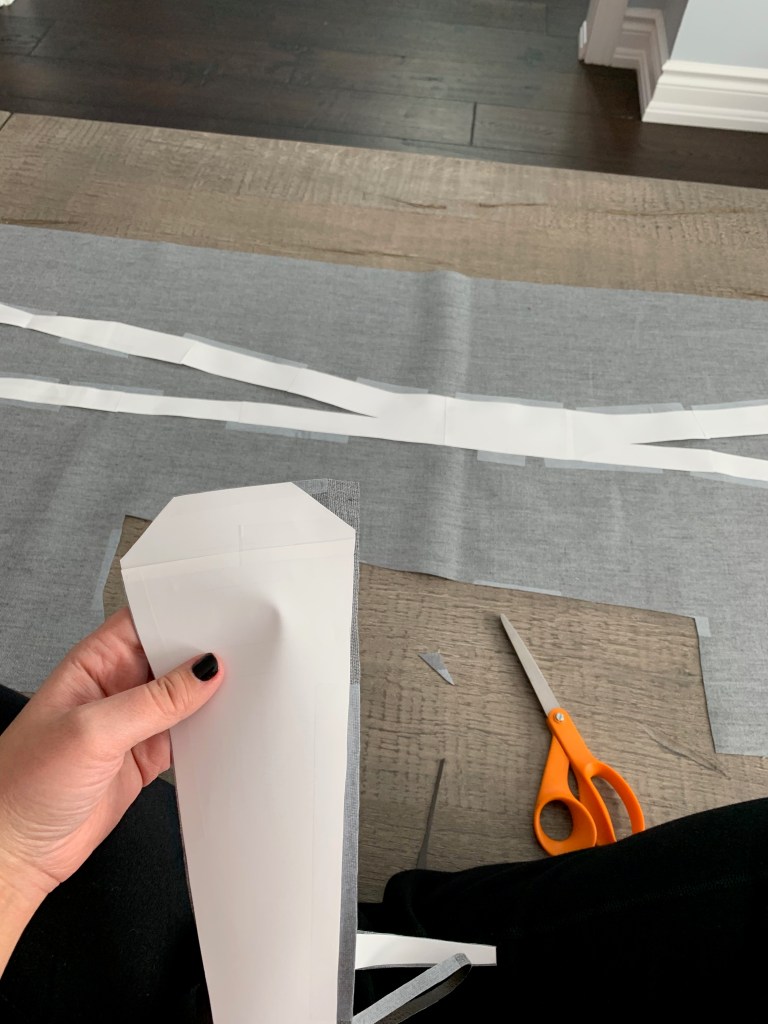
I somehow got it in my head that rather than just going to buy bandages (because it’s too easy? who knows) I would make the wraps myself out of strips of cloth.
I had an old white pillowcase that was ripping at the seams. Perfect!
I spent an entire afternoon cutting this pillowcase down to an even number of roughly similar-sized strips. I even ironed the pillowcase to make sure that all creases were smoothed out so they didn’t affect my cutting.
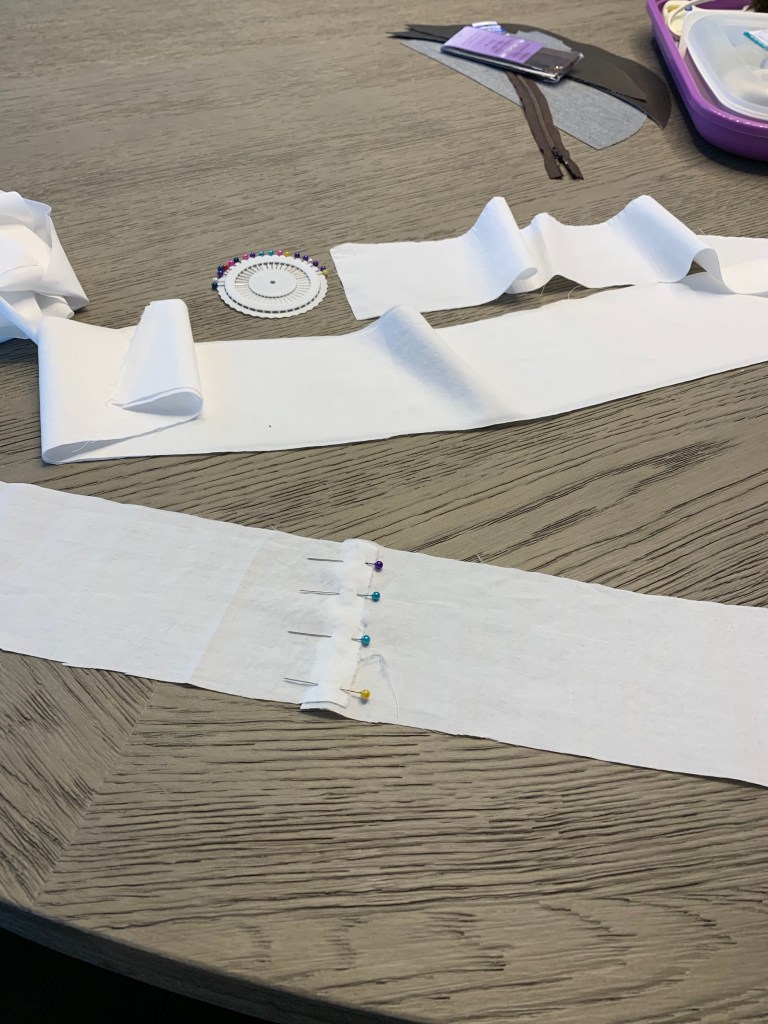
I found a nice zigzag setting on my machine to stitch the ends together and I’m feeling pretty proud of myself. I made something without a pattern and I up-cycled a pillowcase on top of all that.
So here’s the thing.
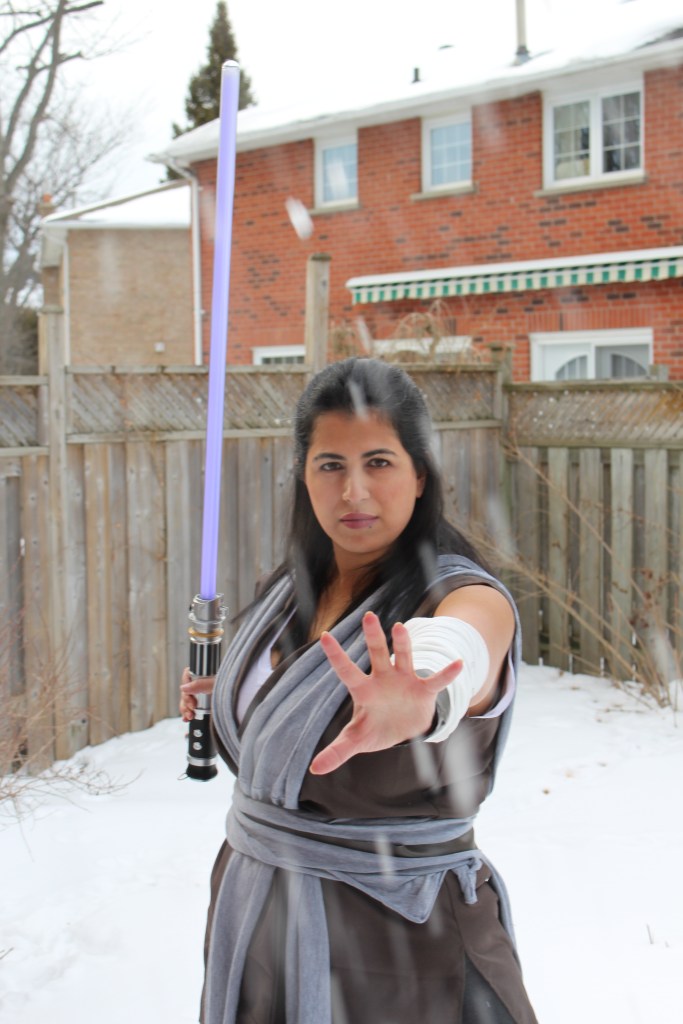
A gauze bandage not only clings to itself, it also moulds and bends to the shape of whatever it’s being wrapped around. My pillowcase attempt did neither of these things. My arms looked like that part of the horror movie where the mummy starts unravelling.
What is the secret to wrapping these? I wondered. To the forums!
The secret, as it turns out? Just buy the goddamn gauze.
So I bought the goddamn gauze.
A few people did also suggest making a compression sleeve out of old/cheap pantyhose to tuck the ends of the gauze into. So I got to up-cycle something at least.
Some people even went so far as to suggest that you sew the gauze onto the sock so you can just pull the whole thing on as one piece. I haven’t done that yet (haven’t figured out how yet, exactly) but I do like the idea.
This project had the rare distinction where every single piece looked absolutely ridiculous on its own, but somehow managed to come together to form my favourite costume so far.